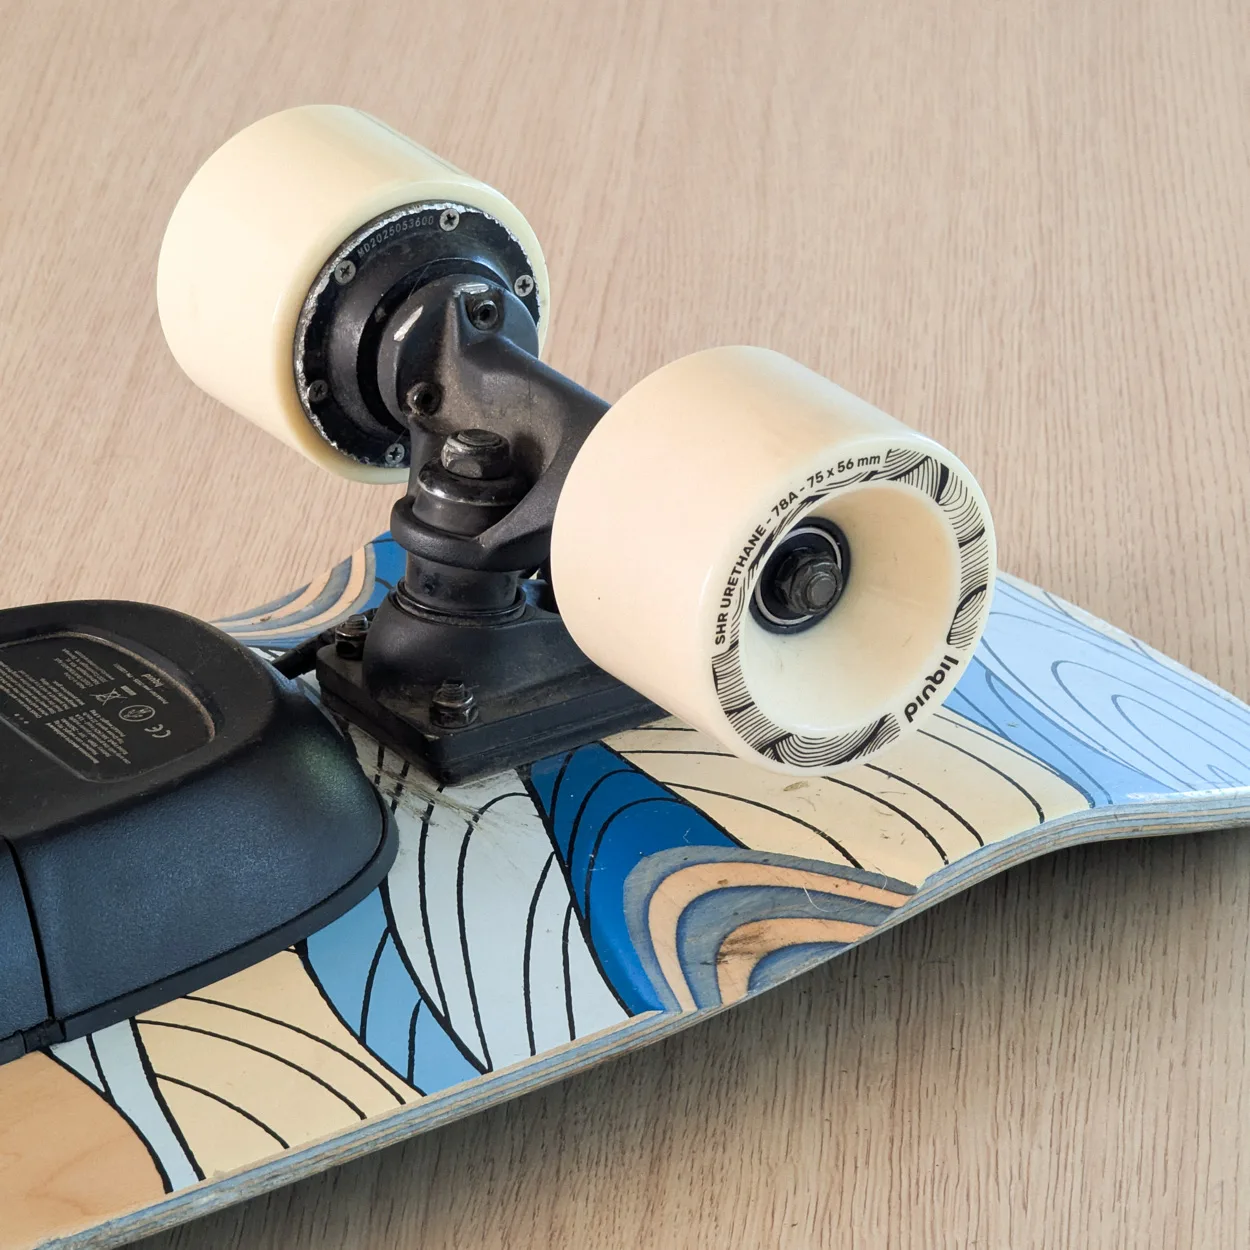
HOW TO REPAIR / MAINTAIN YOUR SKATEBOARD
Maintain & Repair
Replacing the grip
Replacing the motor PU sleeve
Over time, the motor sleeve can wear out or age. Replacing it is a quick job (about 10 minutes) if you use the right tool sizes and follow the tightening sequence below.
What You’ll Need
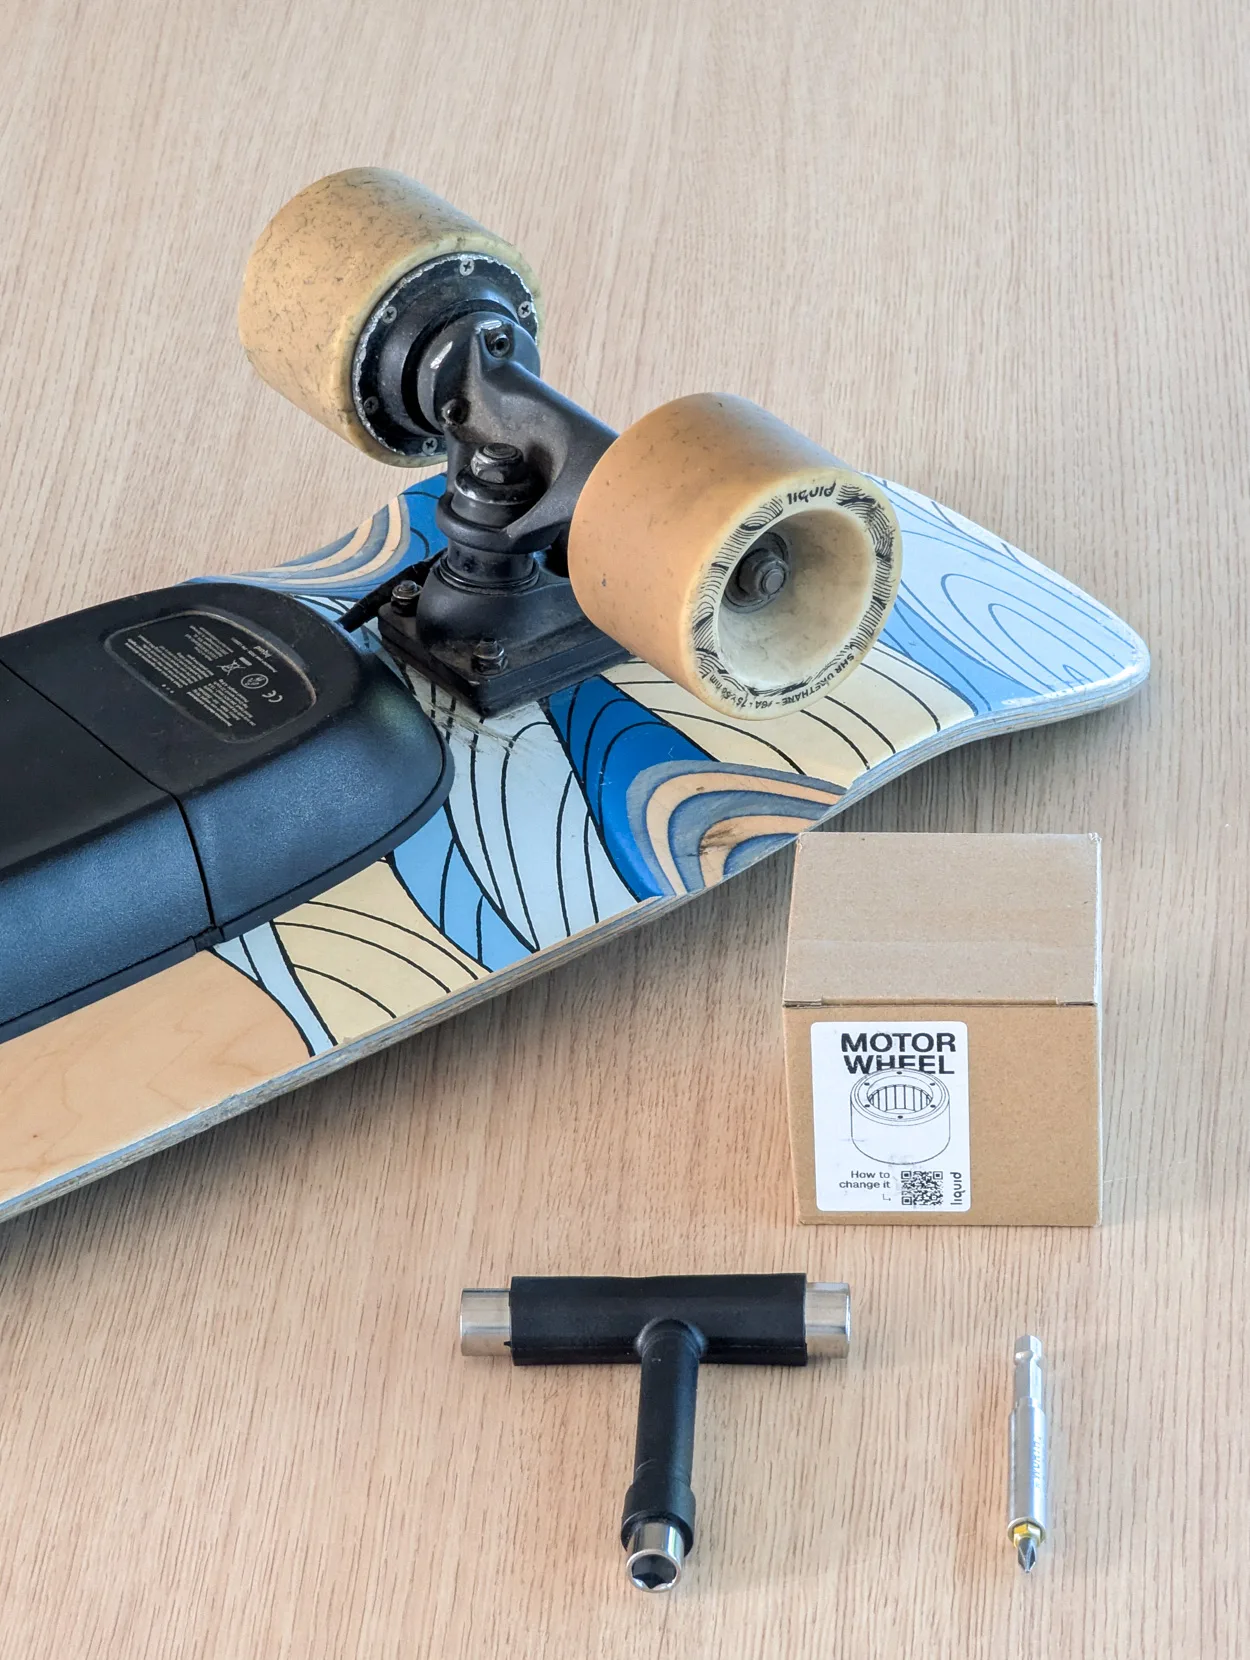
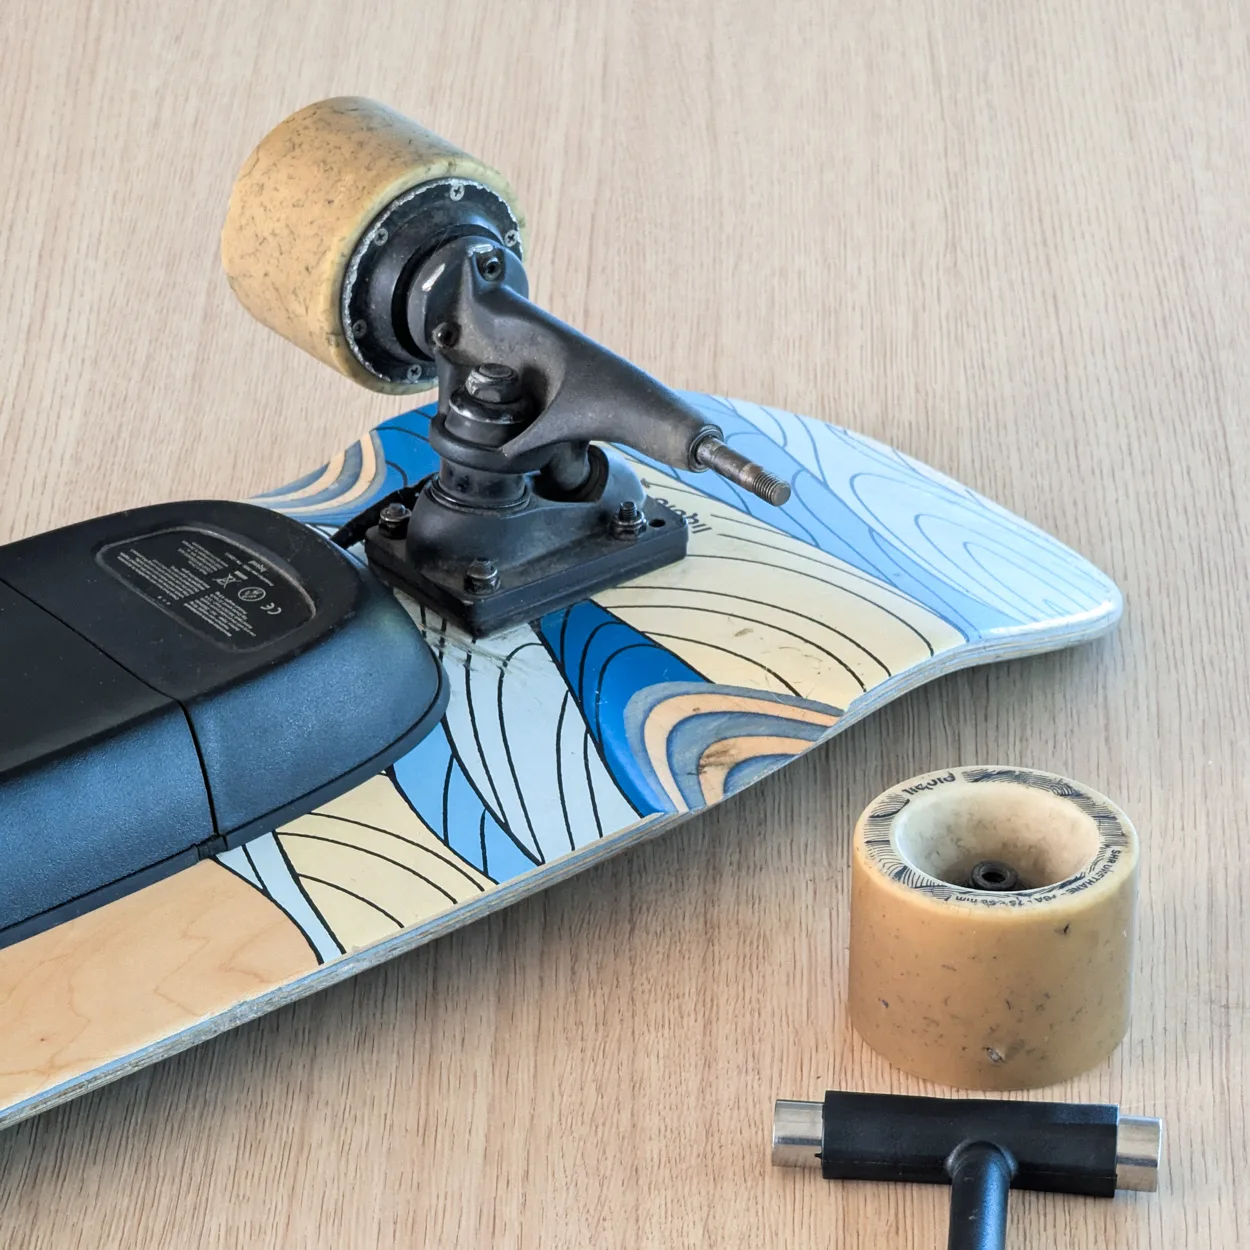
Start by removing the non-motorized wheel with the T-tool. This gives you clear, easy access to the motor screws on the other side of the truck.
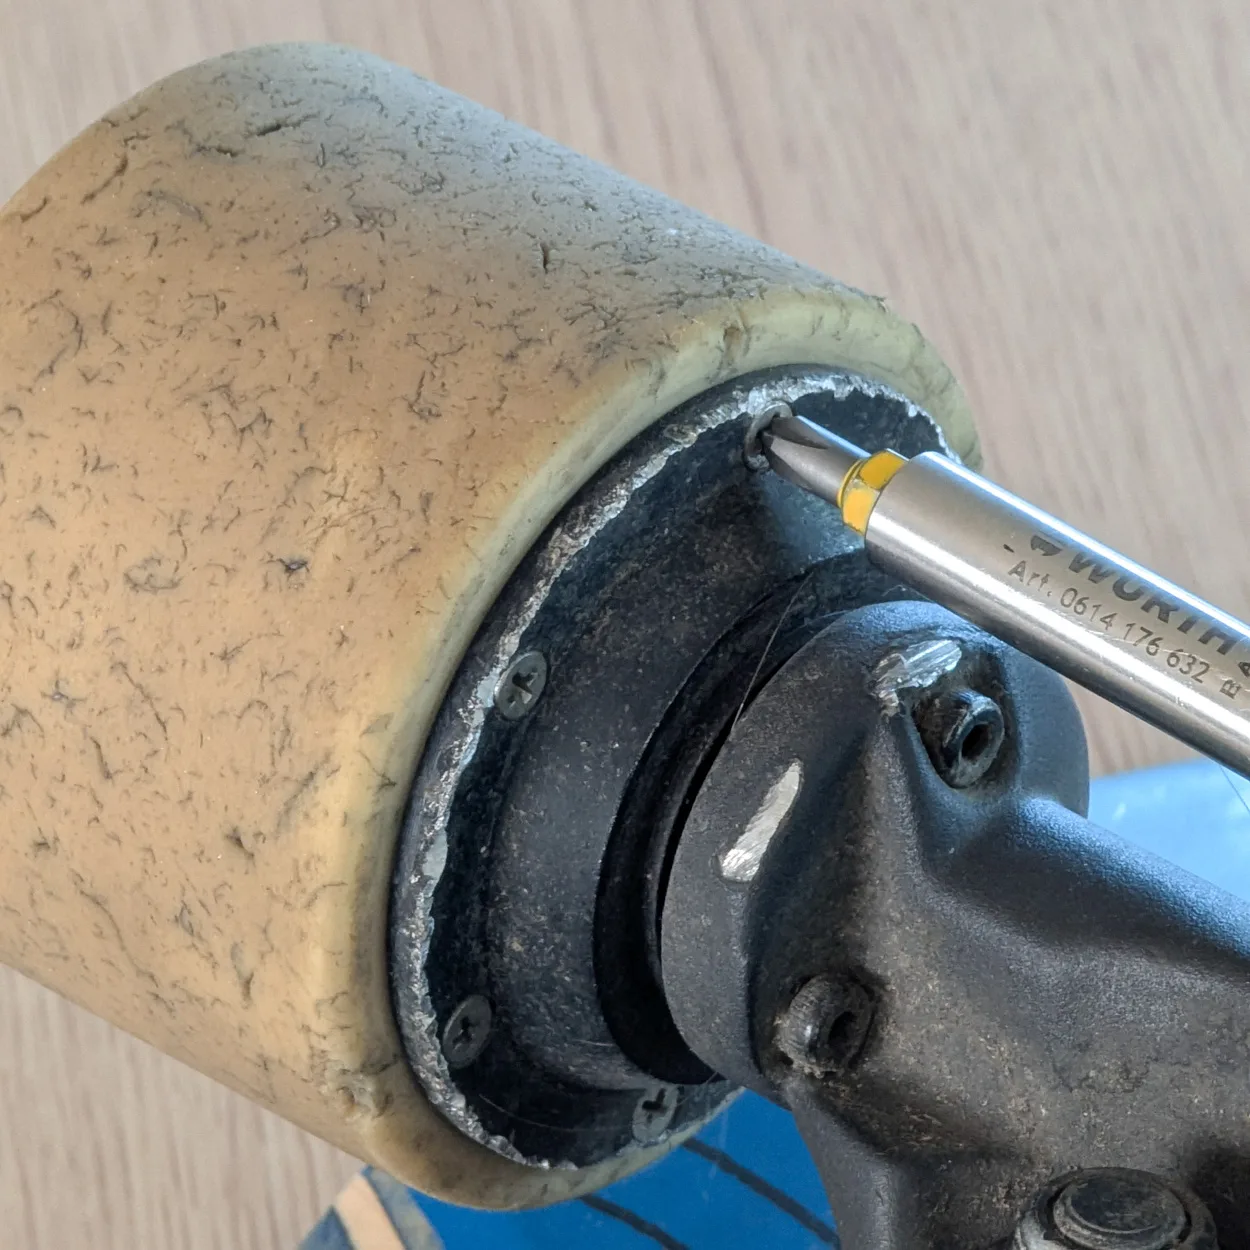
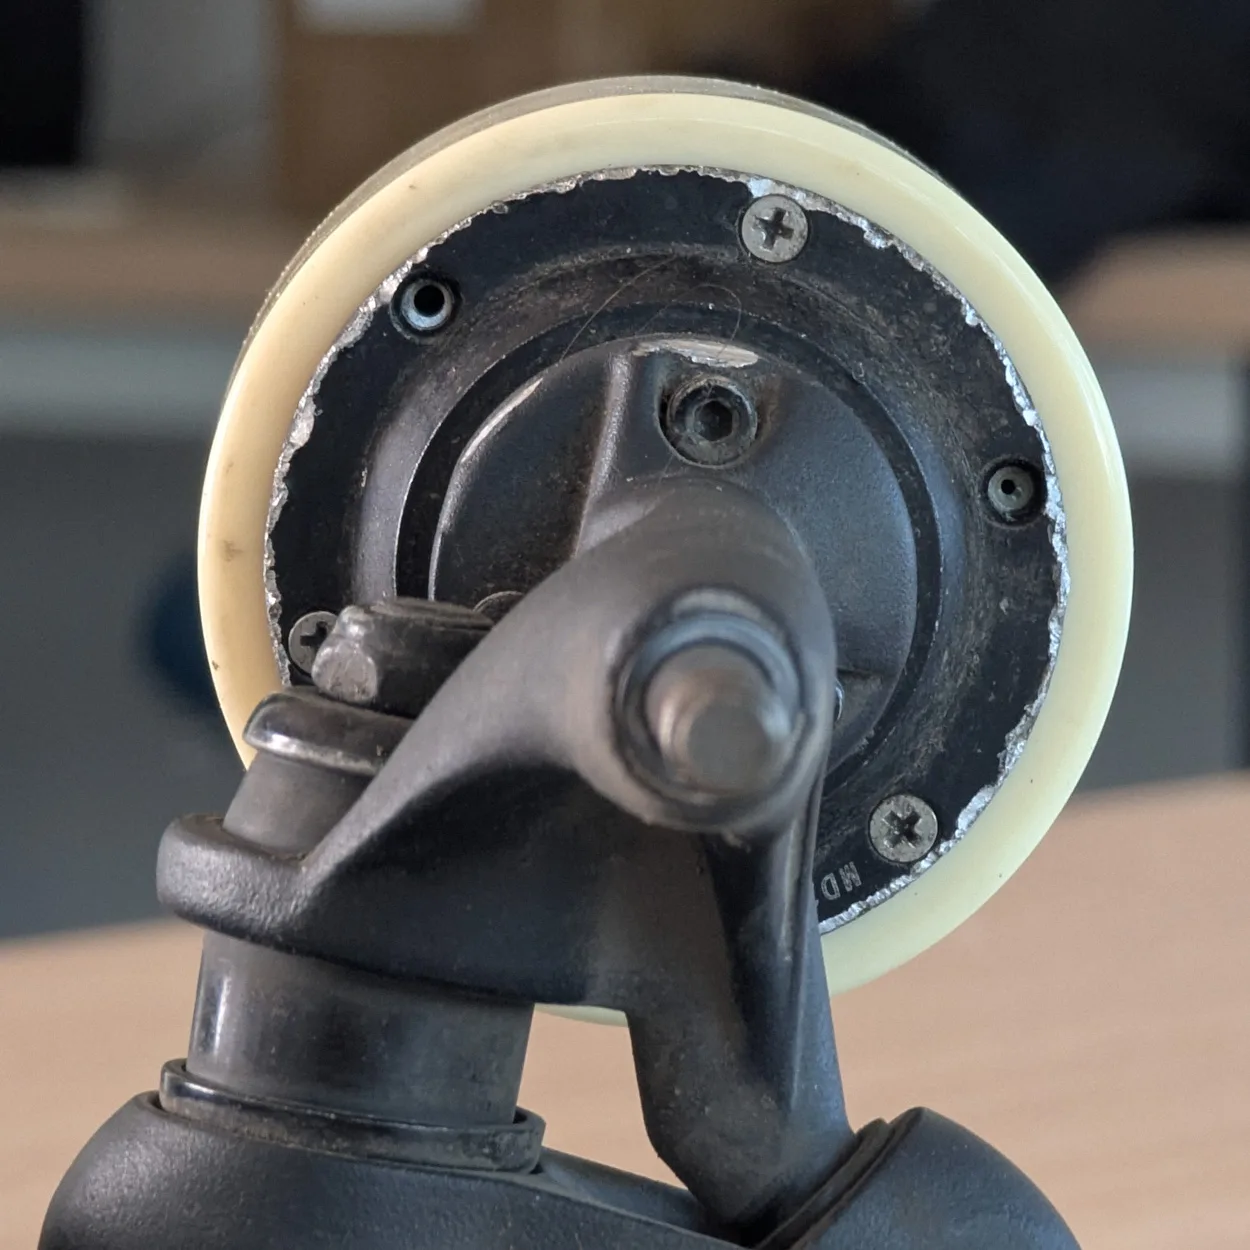
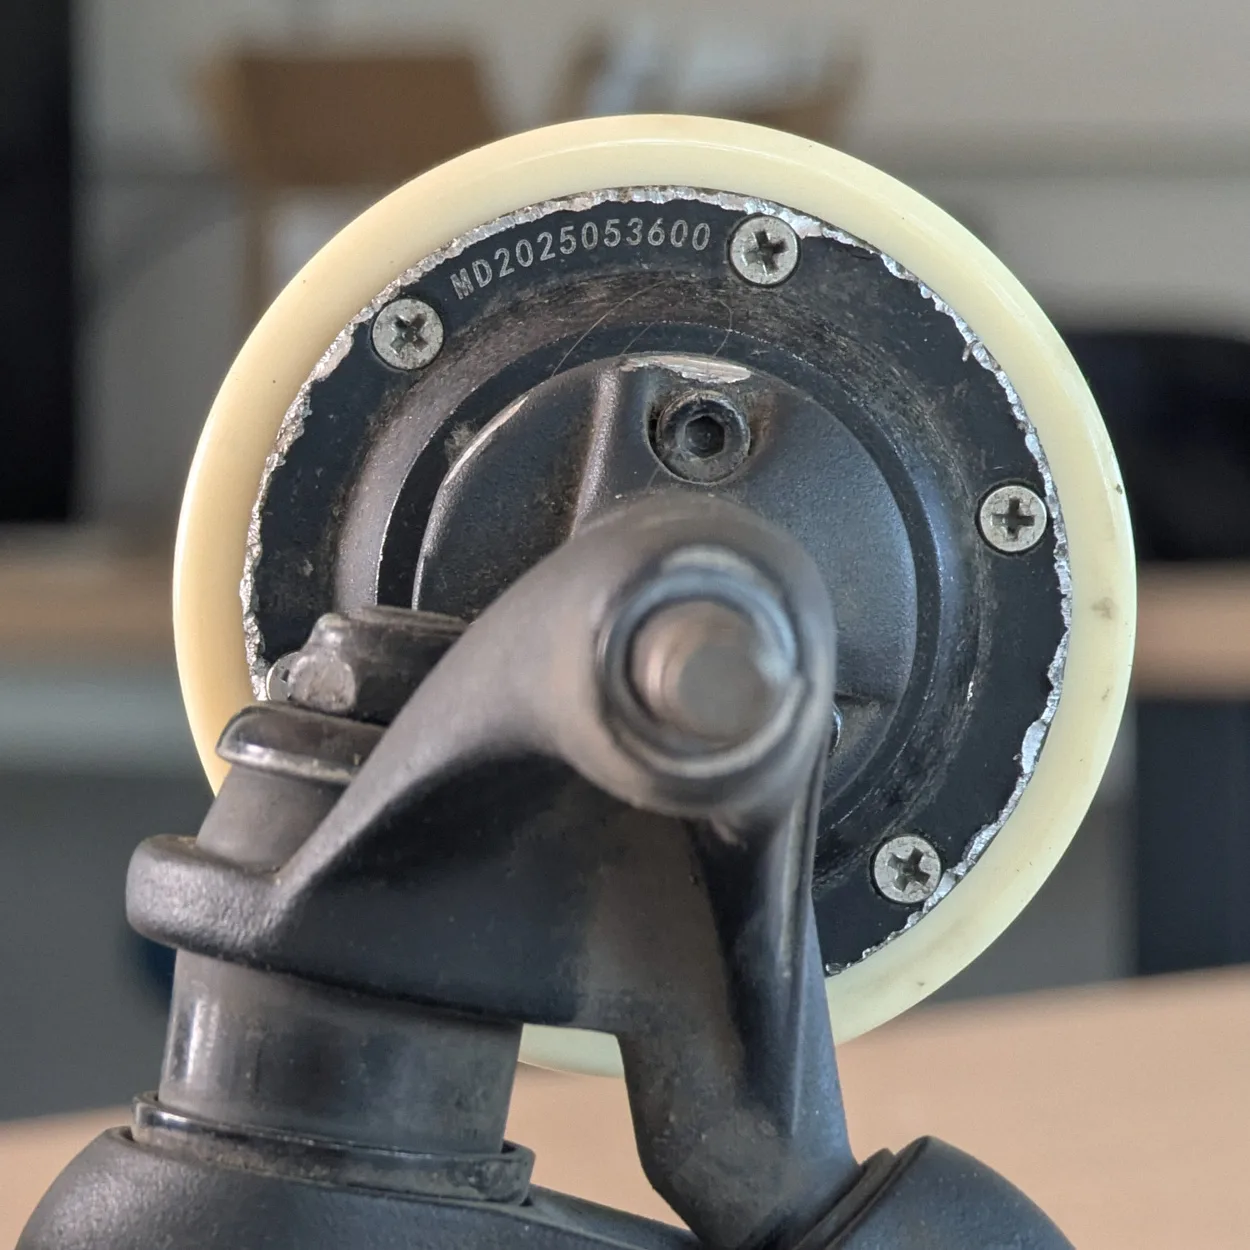
Using the PH1 Phillips screwdriver, remove the six screws holding the motor sleeve in place. Set them aside — you’ll reuse them later.
Make sure the screwdriver tip is genuinely PH1. A mismatched size can round out the screw head, and a damaged head may prevent you from removing the sleeve at all.
Once all six screws are out, pull the sleeve off the motor. Because of the magnets inside, this can take a bit of force.
Tip: Hold the truck steady with one hand and pull the sleeve off with the other.
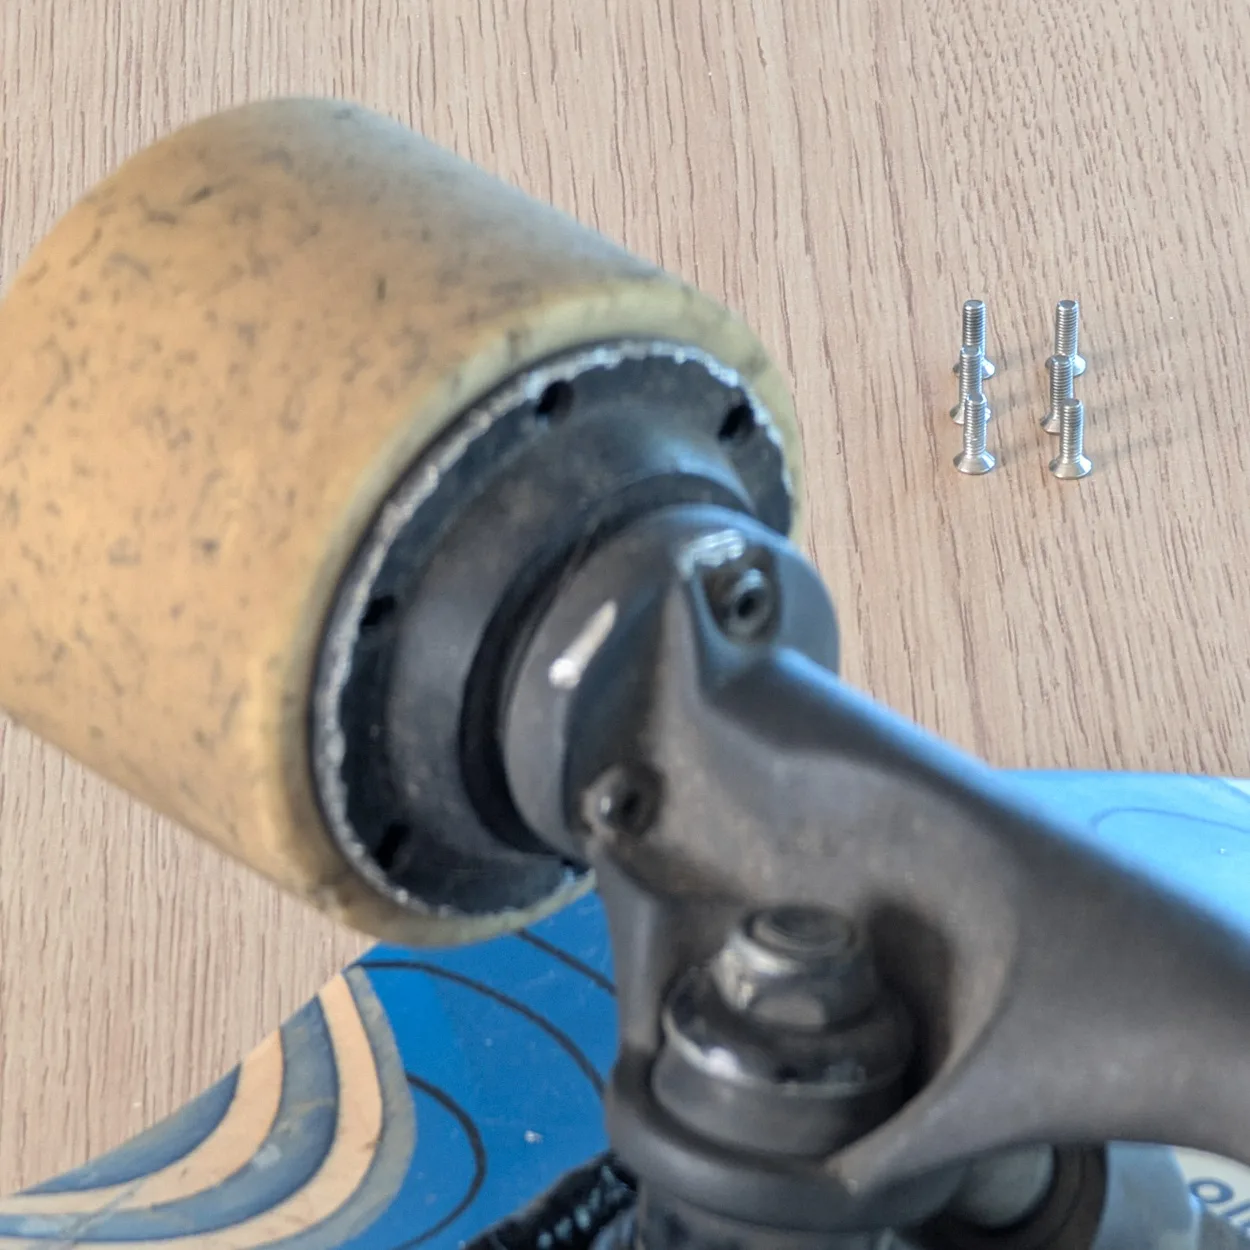
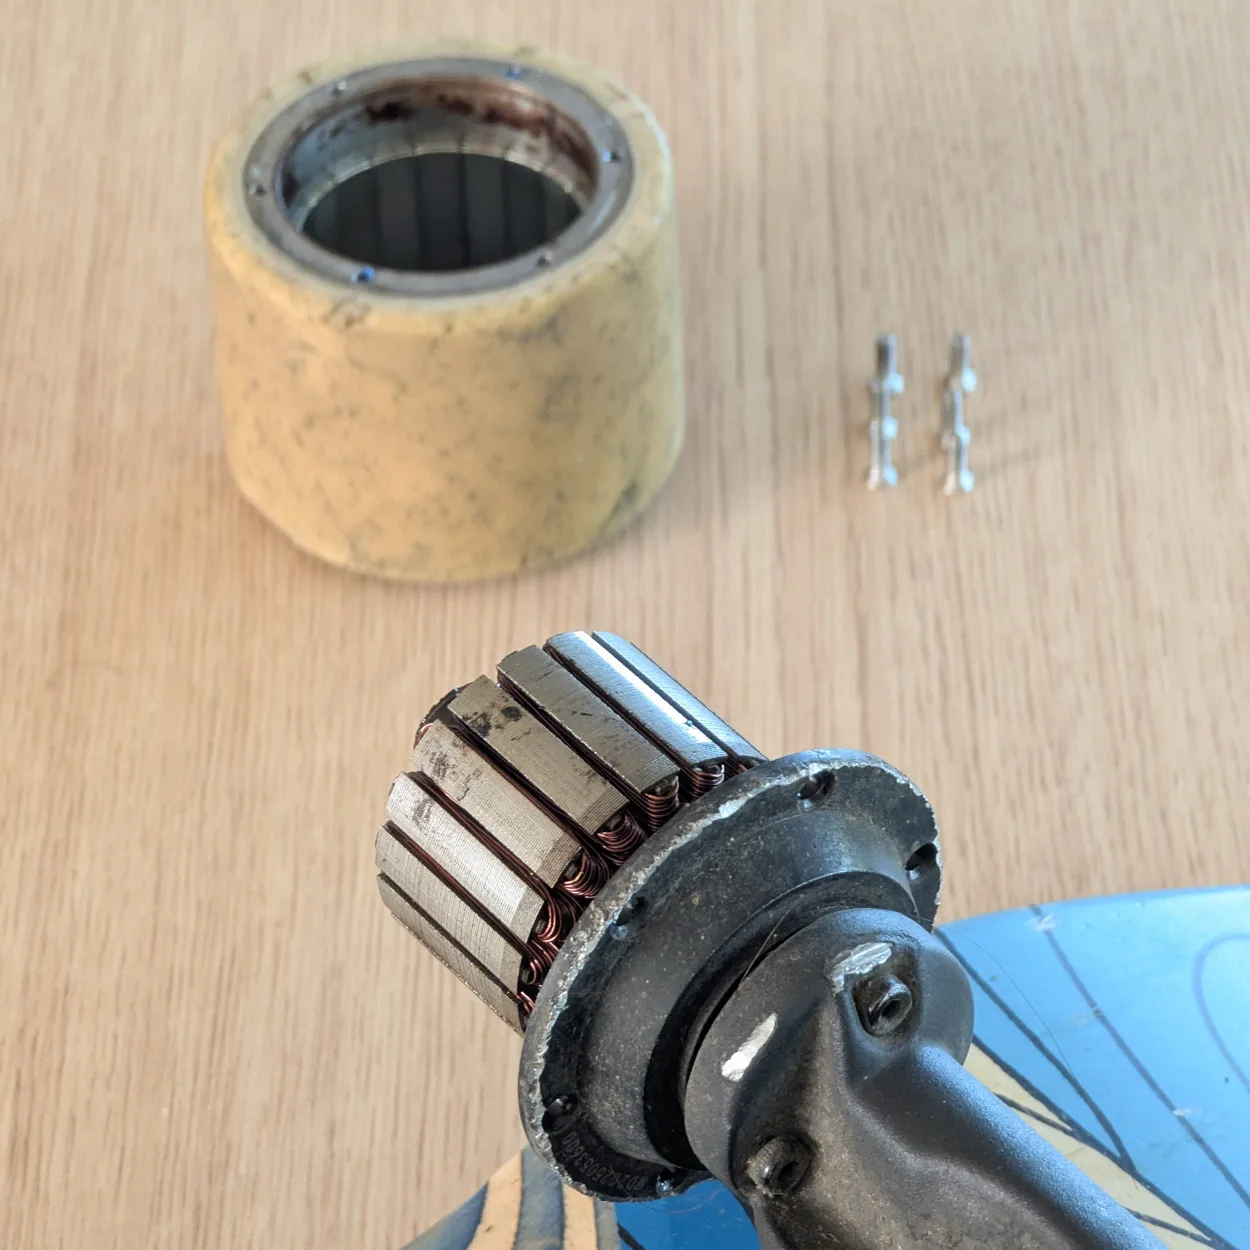
Take the new sleeve and gently bring it toward the motor. The rotational angle doesn’t matter, you just need one of the sleeve’s screw holes roughly facing a screw hole on the motor.
Careful with your fingers. As the sleeve gets close, the magnets will pull it into place suddenly. Keep fingers clear of the gap between the sleeve and the motor.
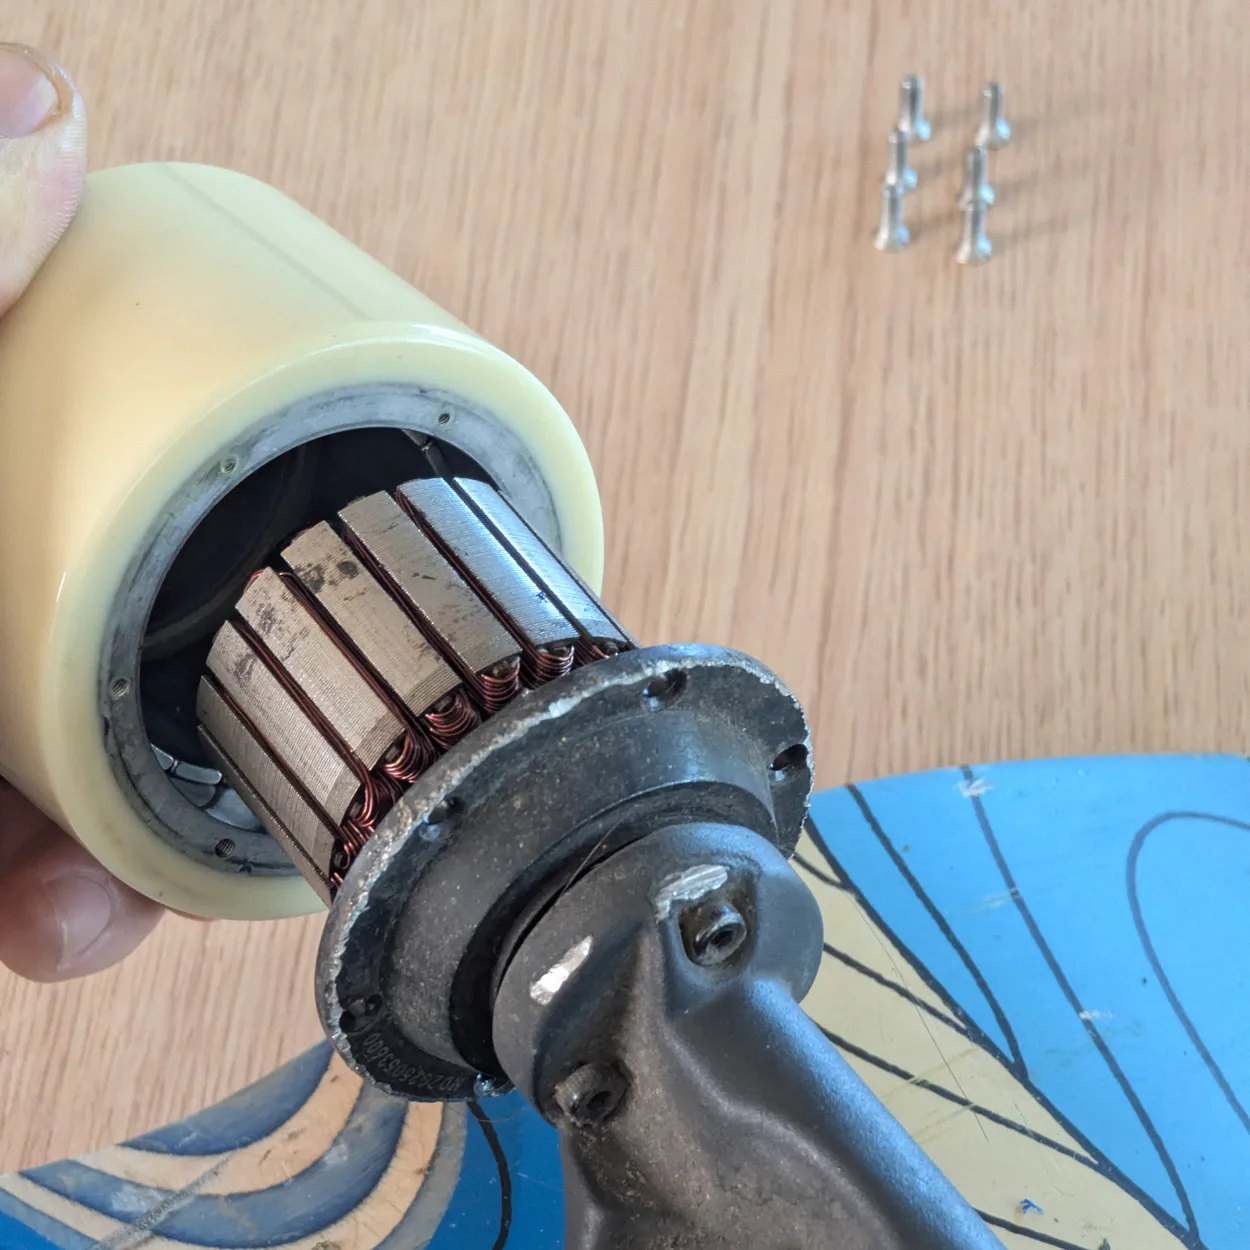
Once the sleeve has snapped into place, align each screw hole with its corresponding thread on the sleeve.
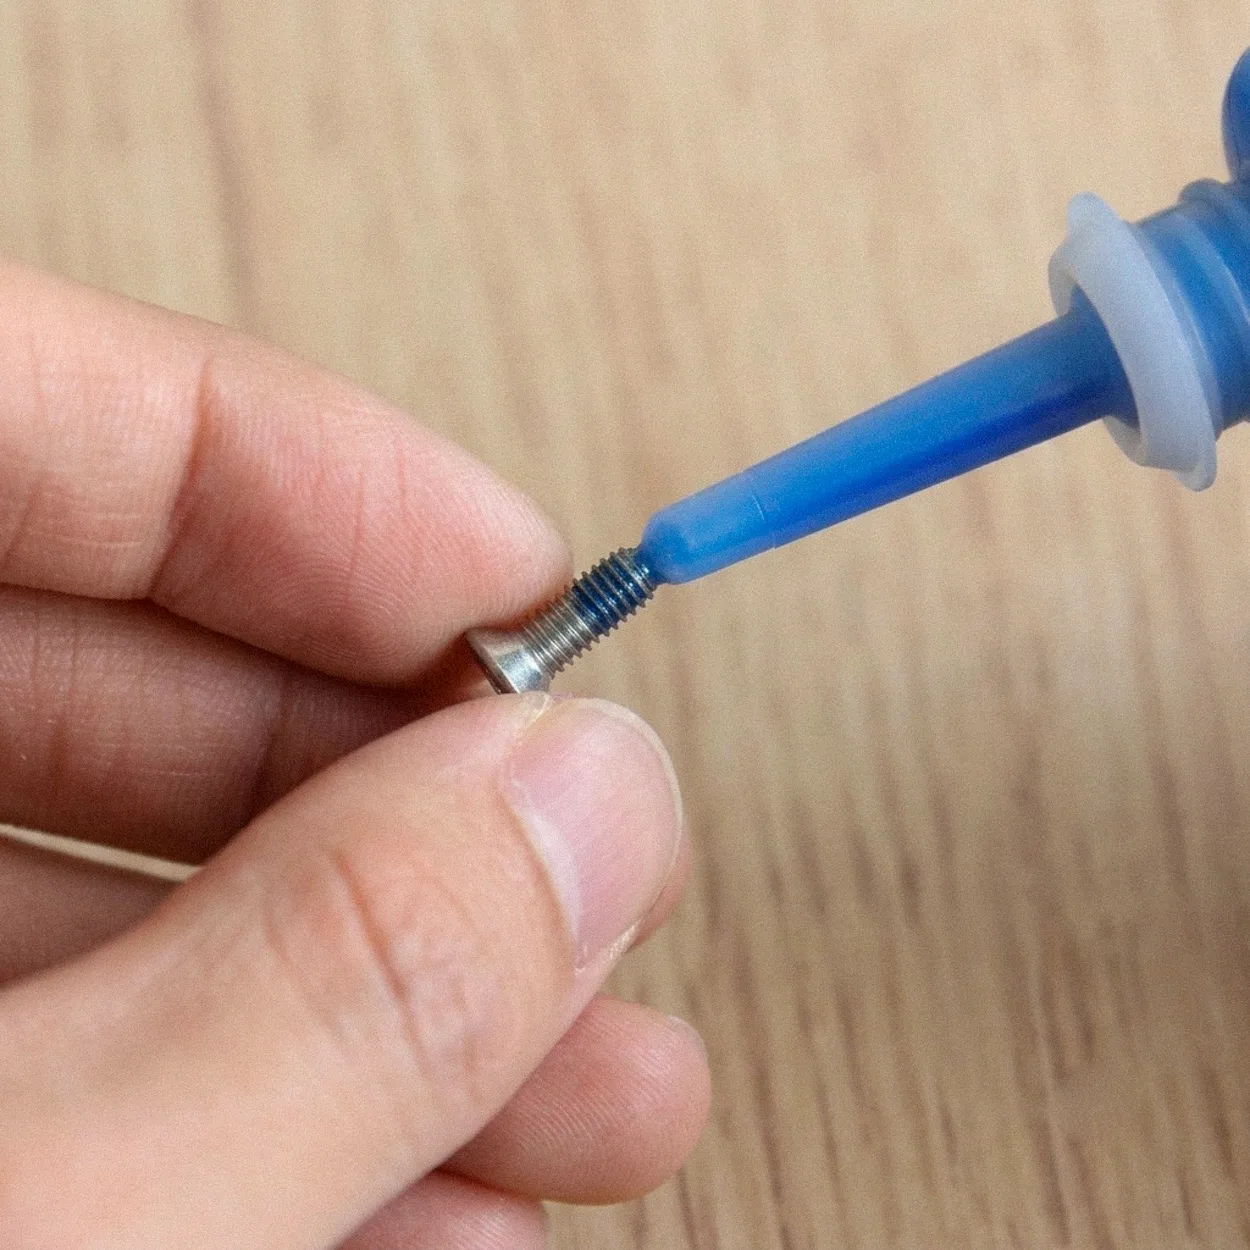
Apply threadlocker
Before inserting each screw, apply a small amount of blue threadlocker to the threads. This prevents the screws from loosening over time due to vibration.
Tighten the Screws in a Star Pattern
Insert and tighten the six screws in a star (triangle-crossing) pattern, not sequentially around the circle:
Screw 1 → Screw 2 → Screw 3 (first triangle)
Screw 4 → Screw 5 → Screw 6 (second triangle, alternating between the two triangles)
This ensures even, balanced pressure on the sleeve as it seats.
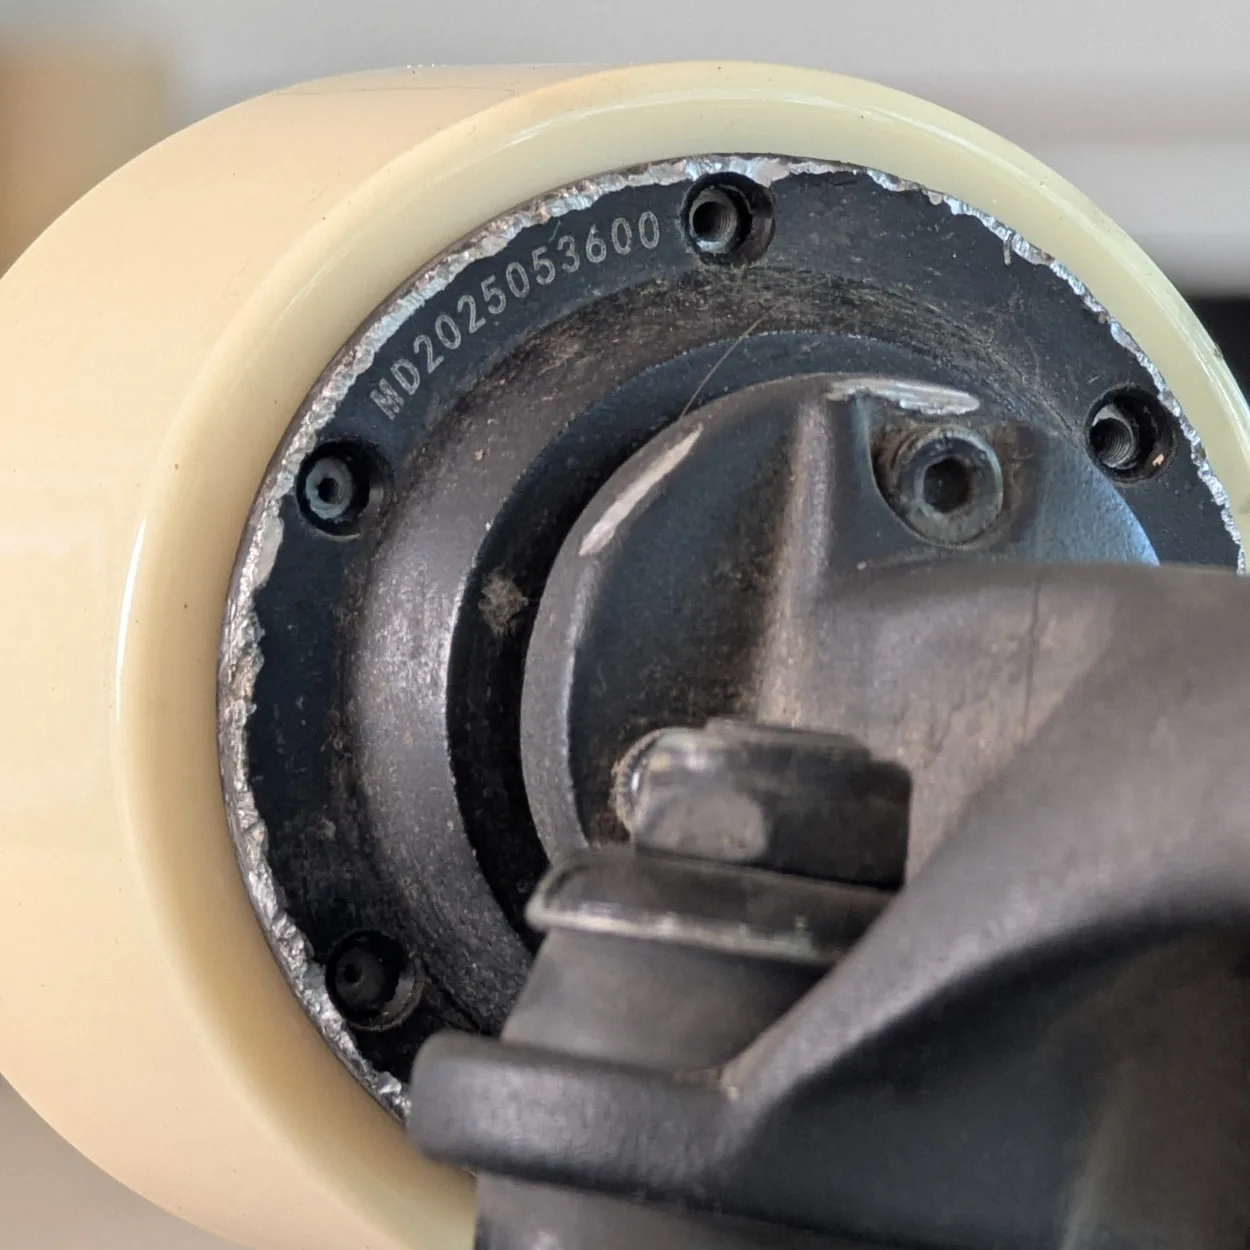
Put the non-motorized wheel back on using the T-tool, and you’re done.